Payment Requests and Payment Request Schedule
Overview
Stratus Municipal Pro includes a Payment Request page for applicable municipal returns. Payment request information can be reviewed from an individual return or managed from the Payment Request Schedule.
Payment Requests
Open a Payment Request from a Return
To view the payment request for a return, open the return and select the Payment Request icon on the right side of the screen. 
The payment request includes payment-related information for the current return. Amounts and G/L information may already be populated if that information has been entered on the Payment Request Schedule.
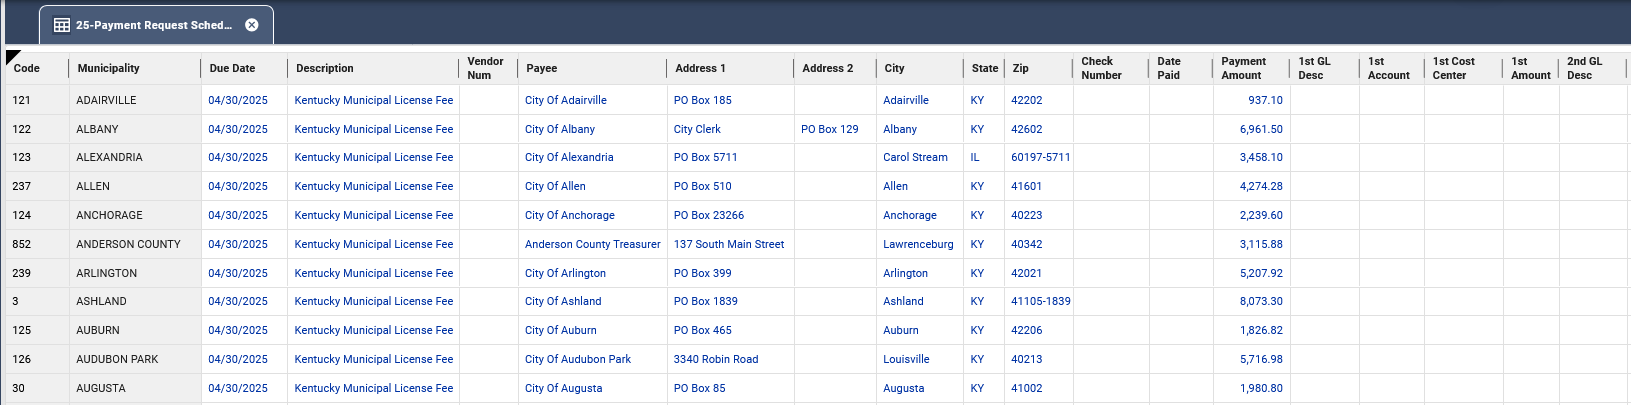
Use the Payment Request Schedule
The Payment Request Schedule is located under Summary Schedules. Use it to review and update payment request information for active municipal returns.
The Payment Request Schedule and Address Schedule are populated only for jurisdictions with premiums. If you open these schedules before entering or importing premium data, they will be blank.

Enter Payment Request Information
On the Payment Request Schedule, you can enter or review information such as:
- Description
- Payee information
- Address information
- G/L description
- Account number
- Cost center
- Amount
- Approval date
- Payment method
- Vendor number
Some information, such as payee and address information, will be prepopulated.
Payment Methods
Depending on the return and available settings, payment methods may include options such as check, ACH credit, ACH debit, credit card, or EFT.
Vendor Numbers
Vendor numbers will flow from the Input Schedule to the Payment Request Schedule.
If a vendor number appears in red text, it has been manually overridden on the Payment Request Schedule. If you delete the override, the vendor number from the Input Schedule will appear again.
Save Changes
After editing the Payment Request Schedule, select Save.
Export Payment Requests
Use Payment Request Export to create a payment file that can be used by your accounts payable system.

Export a Payment File
- In the Municipal navigation pane, go to Summary Schedules.
- Right-click Payment Request Schedule.
- Select Export.
- Review the export options.
- Select Export to download the file.
General Export Options
Use the general export options to choose:
- Which payment types to include.
- The payment file name.
- Whether payments are selected by approval date or due date.
- Which date range or payment records should be included.
Export Format Options
Use the Options tab to choose the export format. Available options may include:
- Delimited file
- Fixed width file
If Fixed Width is selected, an additional tab appears where you can define field lengths. Other options may include uppercase characters, leading zeros, and filling in the date paid after export.
Select Export Fields
Use the field selection options to choose which fields are included in the exported payment file. The correct selections depend on the format required by your accounts payable system.
Review and Download the File
Before exporting, review the records included in the payment file when a preview option is available. Confirm the number of records and total dollar amount, then export the file.